Do It Yourself
COSMETIC BRUSH CONTAINER
Looking for the perfect container for your makeup brushes?
I have got you covered!
I’m going to show you a SUPER simple and inexpensive way to make your own.
I’ve been a do-it-yourself girl since long before Pinterest even thought about existing, YouTube came into our lives, or I’d even heard the term ‘blog’. Whenever I’ve moved into a new home or taken a new job, if I couldn’t find what I wanted in a store or online, I figured out a way to make it. I’ve made lampshades, couch-sized wall art, and floofy flip-flops. I’ve spruced up a lingerie chest, built stairs for the deck, and personalized a plain set of storage drawers. As long as it doesn’t involve something like welding, I’m game.
Last year I realized my makeup brush situation was out of control. I had all of them shoved into one container. Not only did I need something larger, but the container I had them in didn’t have the right dimensions to accommodate some of the shorter brushes, and they always ended up getting lost in the shuffle. I spent more time trying to locate the brush I wanted, than I did actually using it. I finally decided I not only needed a new container, but I also had to separate the brushes into more than one. Used, clean candle jars sounded like the perfect solution, but I wanted something cute, as well as functional.
I will admit to zipping through Pinterest for inspiration, but ultimately, the design is mine. I’ll go through the process step by step, and while you certainly can follow it verbatim, I encourage you to play around with colors, fonts and filler and find what best suits you and your needs.
Here we go!
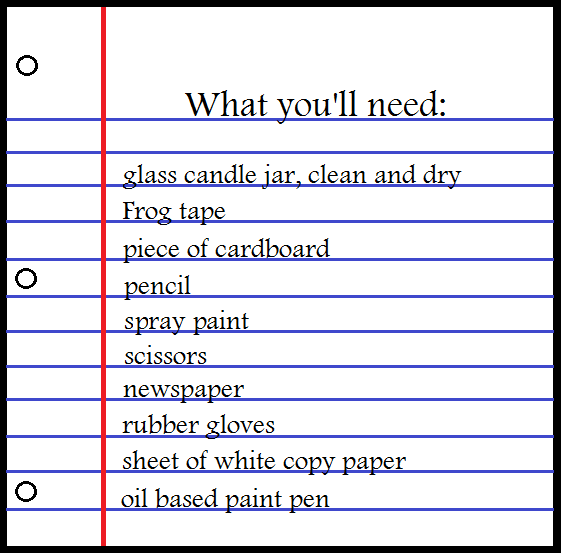
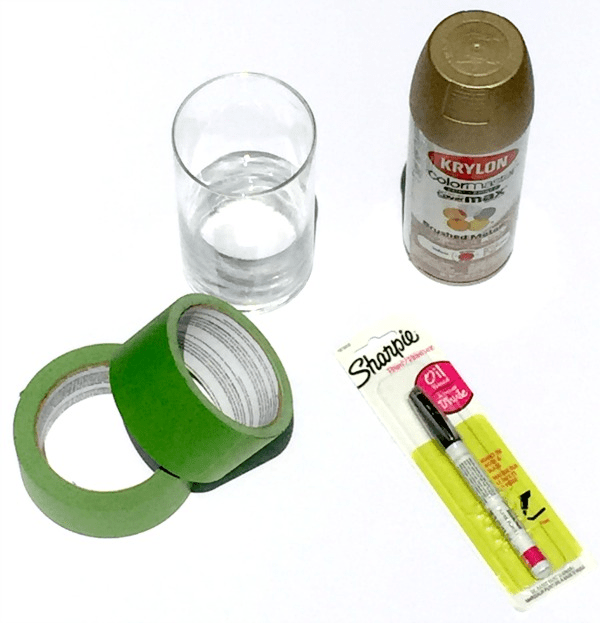
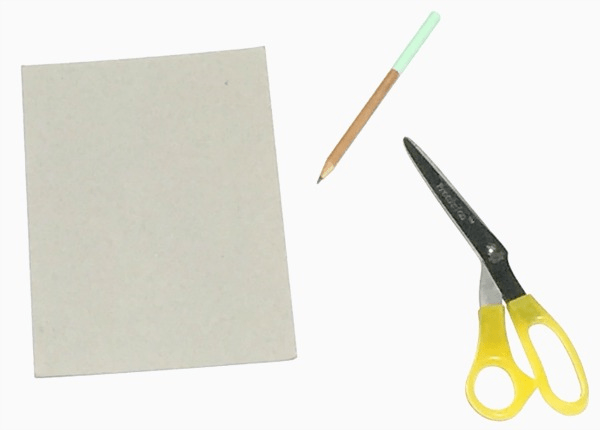
I always try to have everything together in one place before I begin a project, as it saves a lot of time and keeps me from getting distracted.
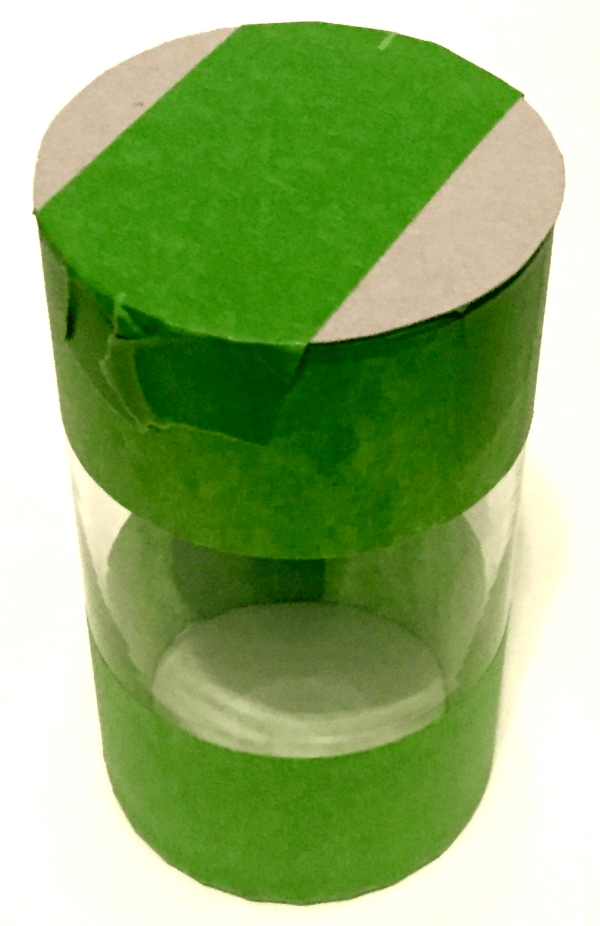
 Decide what kind of print or pattern you’d like. I wanted to paint a wide stripe all the way around the middle of the jar, and then write something on the stripe.
Start with a clean, dry jar and use the Frog tape to cover the parts you don’t want painted.
 Trace the opening of the jar onto the cardboard and cut it out.
Tape the cardboard in place over the jar opening.
 Outside, or in a very well-ventilated area, spread the newspaper around to catch any paint drips or spills. Get the spray paint ready to use by following the instructions on the can. After putting on some utility/rubber gloves, place the jar directly on the newspaper, or hold it over the paper, like I did. Maintaining approximately 12″ between the paint can and the jar, spray the jar in short, sweeping bursts, careful to get an even application of paint all the way around.
 Let it sit for 30-45 minutes and then apply a second coat. After letting that coat dry for another 30-45 minutes, paint a third coat, if it’s needed, to thoroughly and evenly cover your jar. Mine was perfect with two.
 Let it dry thoroughly overnight.
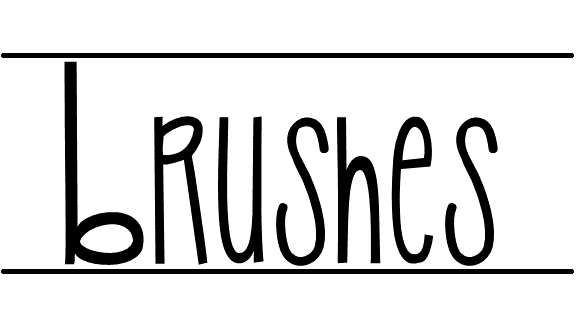
I wanted to paint the word ‘brushes’ on the stripe, and although I could have free-handed it, I wanted something that looked cleaner and more even. The stripe measured almost two inches wide, so I went into Word on my computer, and using several different fonts and adjusting the letters to the correct size, created a ‘brushes’ that I liked and printed it on a piece of plain white copy paper. Once you have your word printed, cut it out a little larger than the stripe on the jar and using a soft lead pencil, solidly color the entire back of the word several times to get a thick layer of pencil lead covering all of the letters.
Center it on the stripe and tape it to the jar with the pencil lead colored side against the paint.
Using a smooth, blunt object (I used the end of a pencil that didn’t have an eraser on it), trace over the letters several times. Remove the template. There should be a feint rendering of the word on the paint. Take the paint pen and after prepping it according to the instructions on the package, go over the letters you’ve traced several times.
Be sure and take your time with this part of your project. I had to go over the letters more than once, and even fill some of them in to get the correct shape of each. Again, let it dry overnight.
Before removing the tape, you can spray some type of clear coat to seal the paint, but it’s not necessary.
Remove the cardboard covering the opening, and slowly, with care, peel off all of the tape. You can use an Exact-O knife to clean up the edges, but they should be fairly even and crisp.
[Quick note: I’m all about doing projects in the thriftiest way possible, but the one thing I would recommend not skimping on is the painter’s tape. Frog Tape is easily the best tape I’ve used for painting, and when you want nice, clean lines, it makes all the difference. You can pick up Frog Tape at home improvement stores (Lowe’s and Home Depot), and probably places like Walmart and Target, in a variety of widths. Simply choose the one that best fits your project needs.]

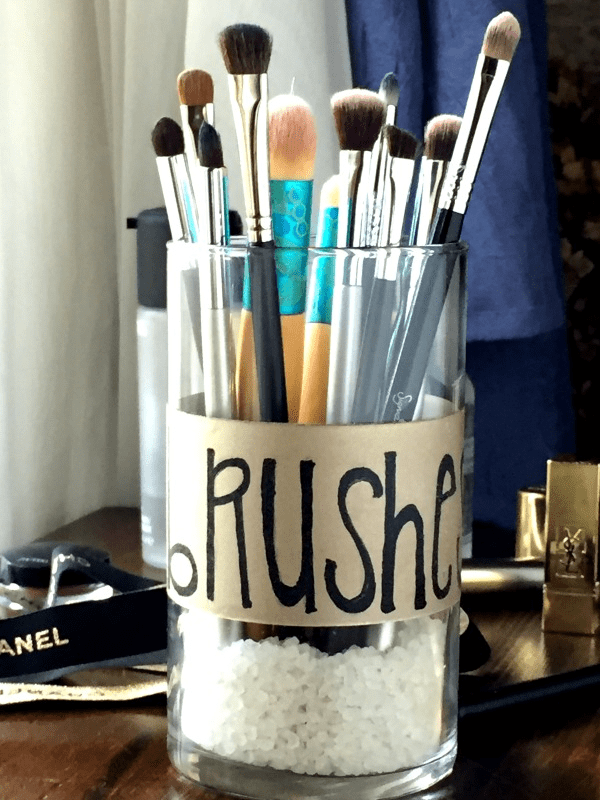
I put some bath salts I already had on hand in the bottom because it needed just a bit more height and the brushes stand up so nicely in it. I might color the bath salts, or find something that’s more complimentary to the paint, but these will do, for now.
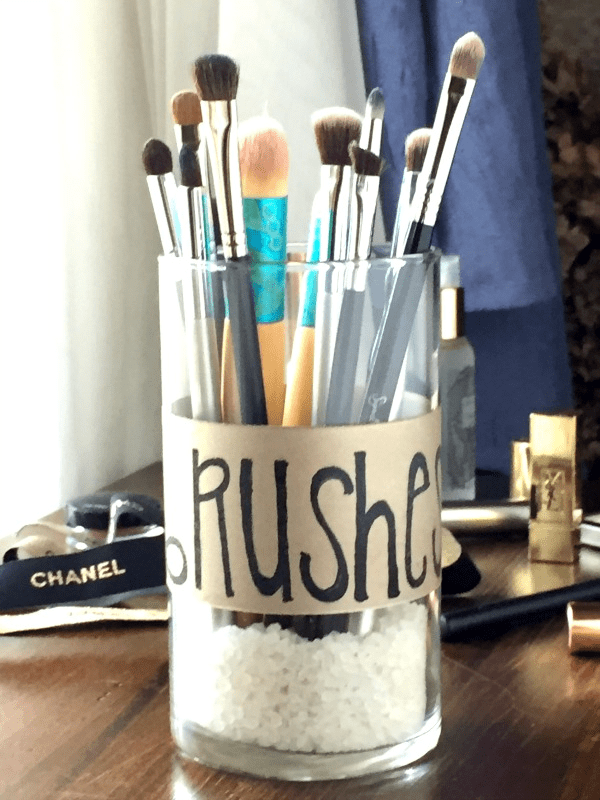 This is the finished product!
It goes really well with my other makeup storage and is the perfect size for my longer brushes.
If you try this project, be sure to post a photo in the comments! I’d love to see how yours turns out.

